Sourdough wax cloth
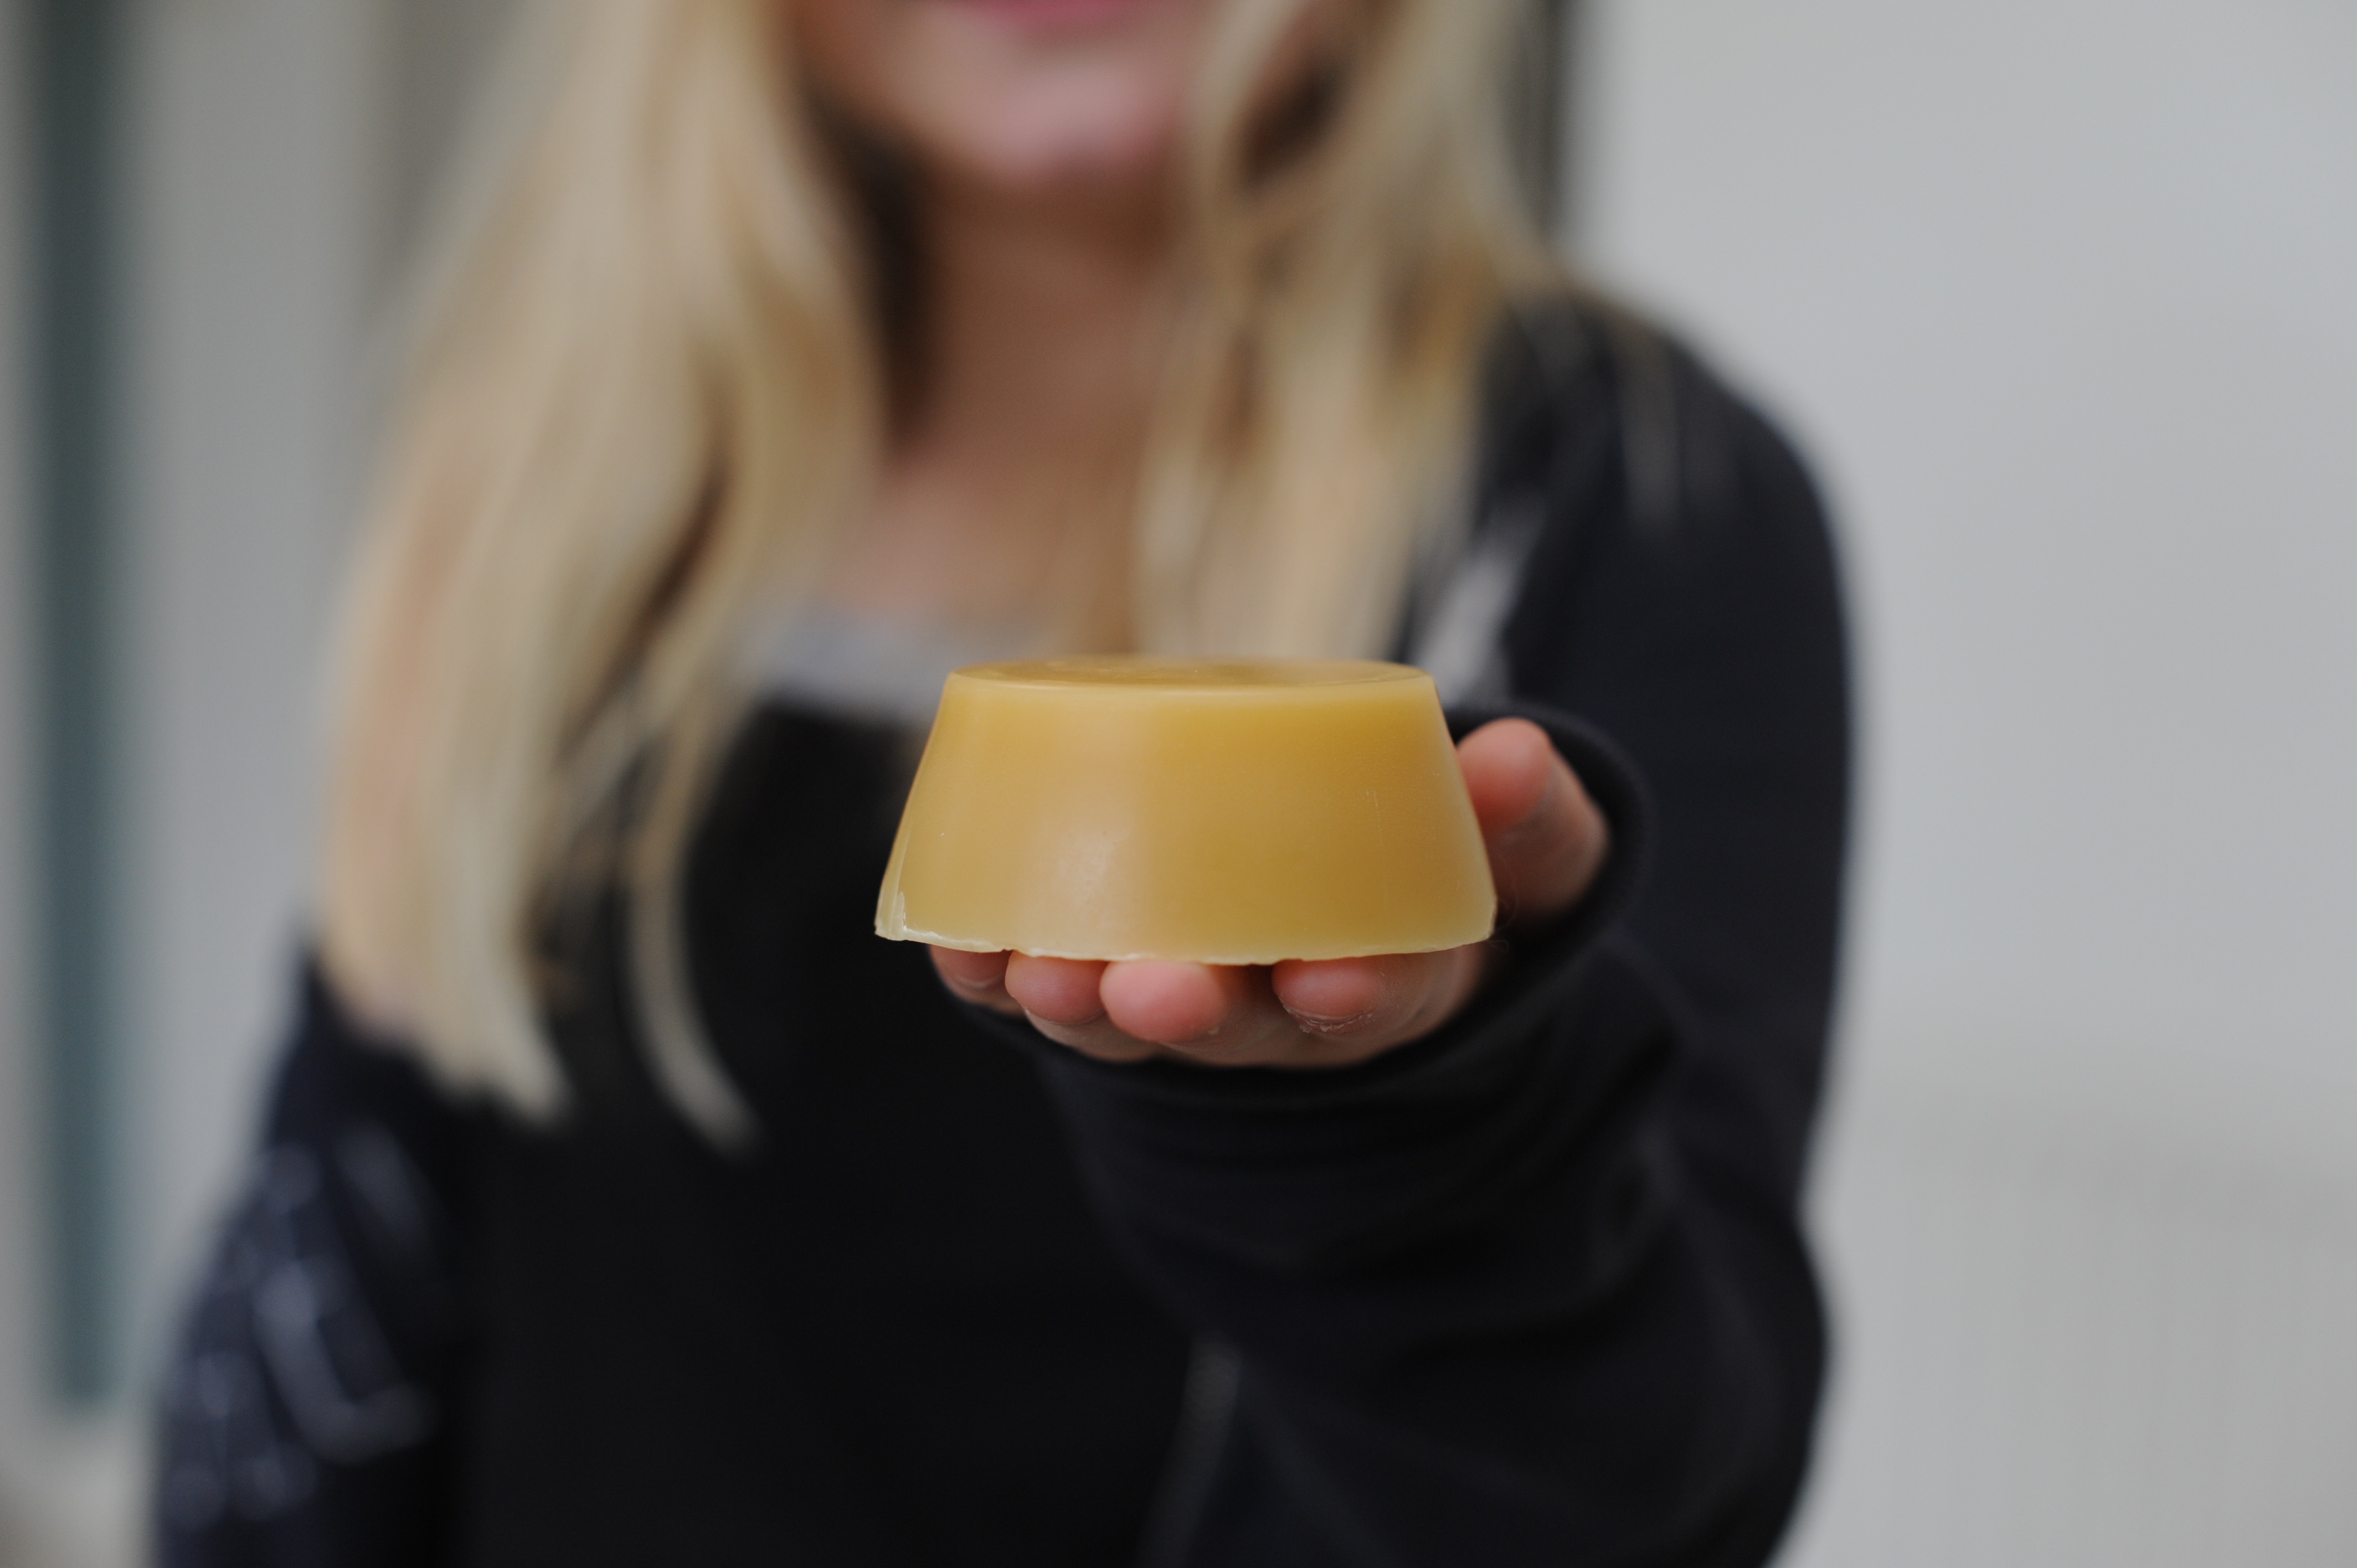
I get asked to share how to make the wax cloths I use to cover my sourdough with whilst it proves. I’m not keen on using cling film. I have a young family and using something that takes a long time to degrade goes against the grain. I do use a wet tea towel to cover my dough from time to time, I found the most effective method to cover sourdough as it proves is to use a wax cloth. If you warm your cloth for a few seconds in the microwave before use, then it moulds itself around the bowl. It’s easy, inexpensive, and somehow more romantic. I also get my wax from my local beekeeper, and it smells amazing, and my children help me to make them.
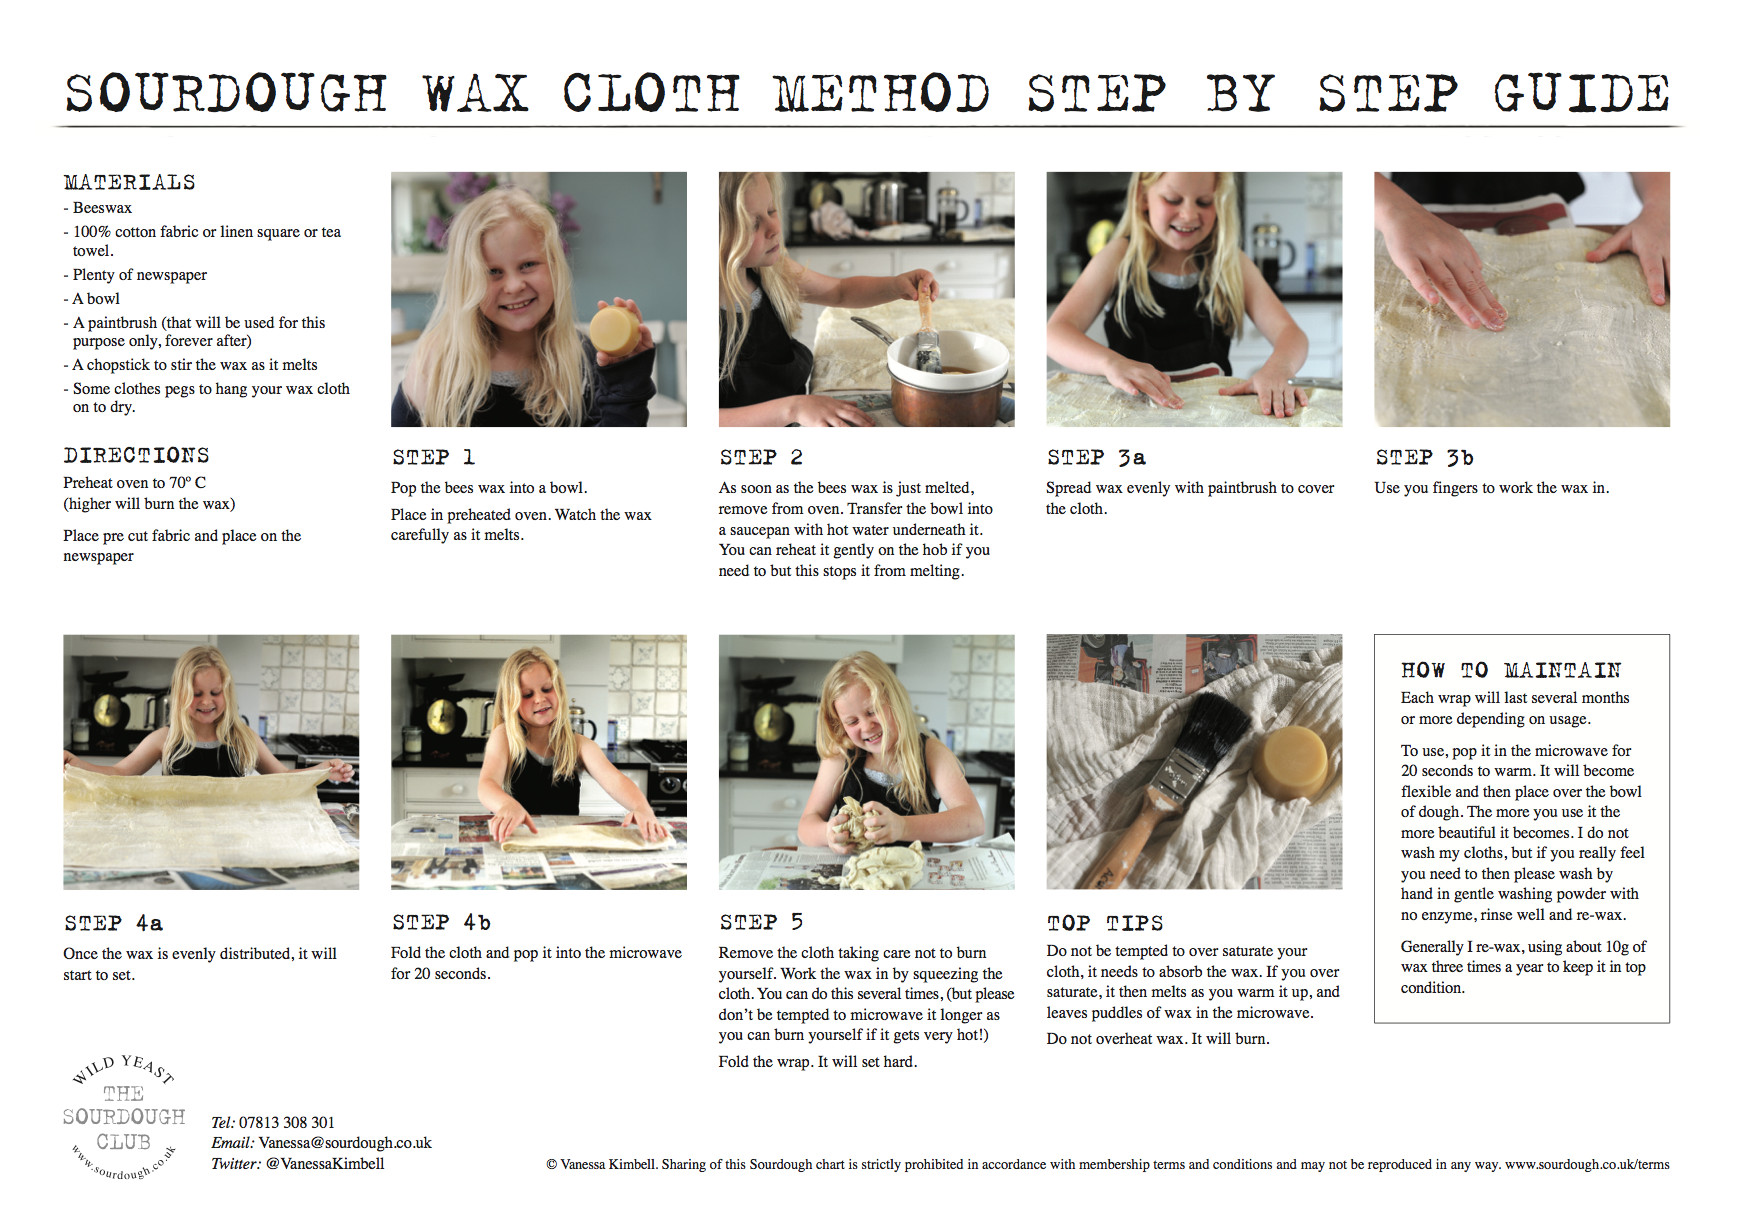
You can download my wax-cloth step by step PDF.
Top tips
Do not be tempted to over saturate your cloth, it needs to absorb the wax. If you over saturate it then it melts as you warm it up, and leaves puddles of wax in the microwave.
Do not overheat the wax. It will burn.
Materials
You will need
100% cotton fabric or linen square or tea towel.
Plenty of newspaper
A bowl
A paintbrush (that will be used for this purpose only, forever after)
A chopstick to stir the wax as it melts
Some clothes pegs to hang your wax cloth on to dry.
Directions
Preheat oven to70 C (Higher will burn the wax)
Place pre-cut fabric and place on the newspaper
Step 1
Pop the beeswax into a bowl.
Place in the preheated oven. Watch the wax carefully as it melts.
Step 2
As soon as the beeswax is just melted, remove from oven, transfer the bowl into a saucepan with hot water underneath it .. you can reheat it gently on the hob if you need to but this stops it from melting.
Step 3a & 3b
Spread wax evenly with a paintbrush to cover the cloth.
Use your fingers to work the wax in.
Ste 4a& 4b
Once the wax is evenly distributed, it will start to set. Fold the cloth and pop it into the microwave for 20 seconds
Step 5
Remove the cloth taking care not to burn yourself. Work the wax in by squeezing the cloth. You can do this several times, (but please don’t be tempted to microwave it longer as you can burn yourself if it gets very hot!)
Fold the wrap. It will set hard.
Each wrap will last several months or more depending on usage.
To use, pop it in the microwave for 20 seconds to warm. It will become flexible and then place over the bowl of dough. The more you use it the more beautiful it becomes. I do not wash my cloths, but if you really feel you need to then please wash by hand in gentle washing powder with no enzyme, rinse well and re-wax.
Generally, I re-wax, using about 10g of wax three times a year to keep it in top condition.

 For Registered Students
I started using wax wraps that I made similar to yours several years ago and I, too, use them on my ferments. Then, I looked at some of the commercial ones that claimed to just use the warmth of your hands to mold the wrap to a bowl and I checked their ingredients. There is a recipe for a beeswax, pine resin, and oil mixture to paint on your wraps that gives just a bit of stickiness from the resin, pliability from the oil, and the impermeability from the wax that is just a lovely step above plain wax. It even combines that lovely beeswax smell with the other wonderful pine resin smell! Collecting pine resin from trees and cleaning it through a process one man, Dominic Bender, termed ‘resinating’ would be another fun learning experience to have with your children. The recipe I sort of follow is found on this site: https://blog.mountainroseherbs.com/the-complete-guide-to-diy-beeswax-wraps-including-a-beeless-vegan-food-wrap and the resinating process is on this site: https://www.instructables.com/How-to-resinate-clean-tree-resin/
This looks great. I really want to give it a go.
But we don’t have a microwave. Any thoughts on what I could do instead of those steps?
Thank you.
use the oven on low.