A Sourdough starter is not just a starter
Firstly, you need to create or be given a starter. Alternatively you can buy The Sourdough School’s White Sourdough Starter Kit. Once you have one, then you need to maintain it, and maintaining and refreshing a starter is about understanding it.
So one of the most confusing aspects of sourdough is the maintenance and feeding of a starter. Often the feeding regime is complicated and convoluted. So let’s start with the first thing. Not all flours take the same amount of time to reach their peak. Typically, this is one of the key things that makes life complicated. So we have detailed explanations and step-by-step videos on all aspects of understanding a sourdough starter in our online course, and we explain how to look after a wholegrain starter and a rye starter and teach how you can control the flavour and bake healthier bread through the way you look after your sourdough starter.
We even have a chocolate sourdough starter here at The School, that we use for our sweet bakes such as brioche.
The details below are for are an easy step-by-step guide of how to refresh a white sourdough starter.
When will my starter be ready to use?
A white sourdough starter is easy to maintain as it is usually ready in about 8- 1o hours. So you can refresh it in the evening and again before you go to work, and then it is ready to use when you get home.
How to refresh a white sourdough starter
25g Starter
100g Water
100g Strong White Bread Flour (preferably organic)
A standard 100% hydration refreshment (sometimes called a 1:1) – Refreshment for starters
- It is really important that before you start baking that you reactivate your starter. To do this, you simply remove the mother from the fridge. Your starter should smell sour but not unpleasant. Don’t worry if there is a hooch on top, just stir it back in, or if it is very old, pour it away.
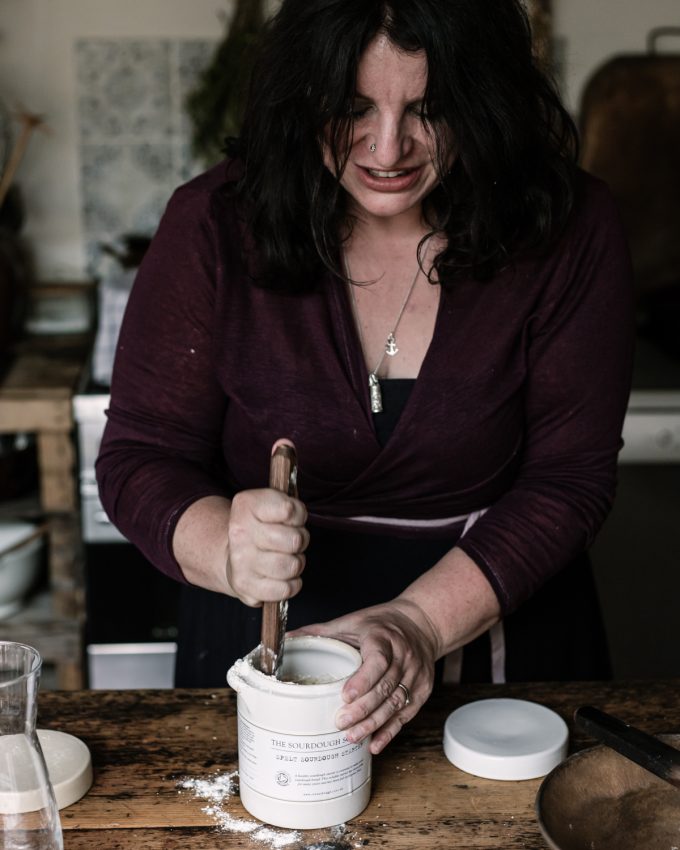
- Put 25g of your starter (a tablespoon) into a jug or sterile jar.
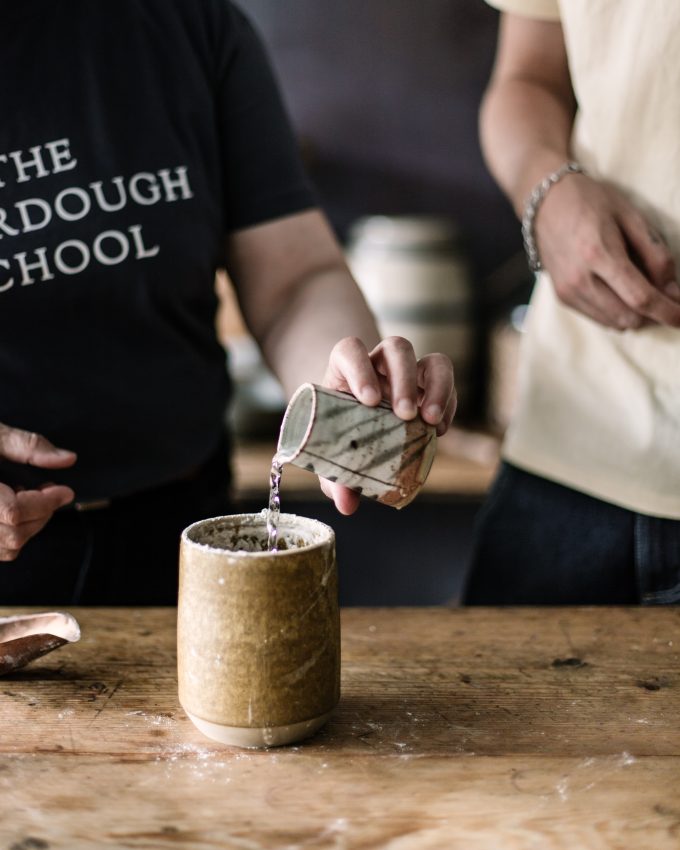
- Add to this 100g of water (generally, I use warmer water at 35 °C to encourage the sweeter homofermentative LAB in our white starter) stir well and then stir in 100g of white roller milled flour (strong white bread flour). If you choose to use stoneground, it will ferment slightly faster, so it will generally be ready to use after 6 – 8 hours.
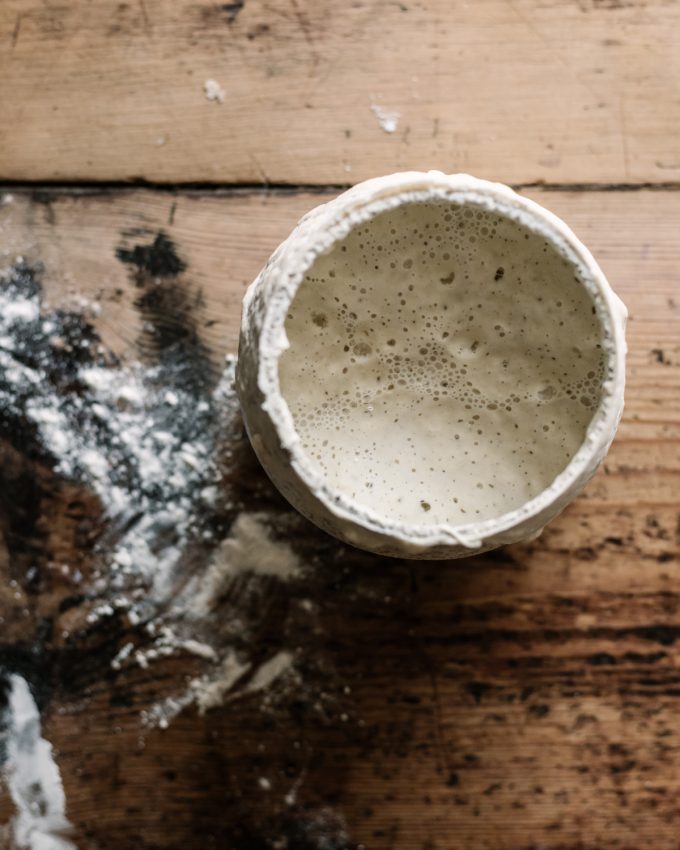
- Leave the jar in a cool, but not cold area until the starter has doubled (please see timings guide above).
- This way the yeast and bacteria colonise the mixture, and it will be ready to make a leaven. Your starter is at her microbial peek and now needs to go back into the fridge until the next time. Please always remember not to use every last bit, as you need some to build a new starter back up.
- Your old starter discard can now be used in lots of other baking, and it is especially good to use in rye bread.
- Make sure that your starter is always remade in a clean sterile jar and keep it covered, but not airtight, in the fridge at about 5 °C/41 °F and feed it every week. We have our classroom at an ambient room temperature of about 20 °C – 22 °C (or 68 °F – 72 °F)
- On rare occasions, a starter can get bacteria in it from elsewhere and will smell horrible, or the bread may taste unpleasant. This happens when the bacteria that have occupied your starter are not the right kind, and the lactic acid, which makes the starter inhospitable to other organisms, hasn’t got going, or the acidity has dropped. Discard it and start again, moving the location of your culture to a different room.
- Refresh your starter at least once a week, even if you are not baking. Always refresh your starter the day before you bake – and if you can, refresh it twice back to back. It will make all the difference.
Click here for our online course, with detailed videos on how to understand starters


 Sharpham Park Competition