Creating a sourdough starter – Video
This is a detailed step by step video by Professional Baker and Gut Health Expert Dr Vanessa Kimbell providing you with a straightforward, easy-to-follow way to create a sourdough starter at home.
This explanation is for anyone who wants to learn how to make a sourdough starter and understand how to create a starter, and the easiest way possible is by understanding the process. There is no right and wrong way – and there are as many versions of this as there are flours. Some starters use grapes, others pineapple, some use wild fruit water, others use rye, or barley or even potato water. what is important is that you get the process, and this video explains in detail how to start a starter.
When you have a robust and active starter you can start baking long slow fermented bread. However first you need to capture wild yeast and lactic acid bacteria to create your unique sourdough starter. Below is a list of things you will need and a guide to eat to expect. Remember each environment is different and so too is each flour, but my top tips are to remember to measure the water temperature and refresh twice a day until it comes alive.
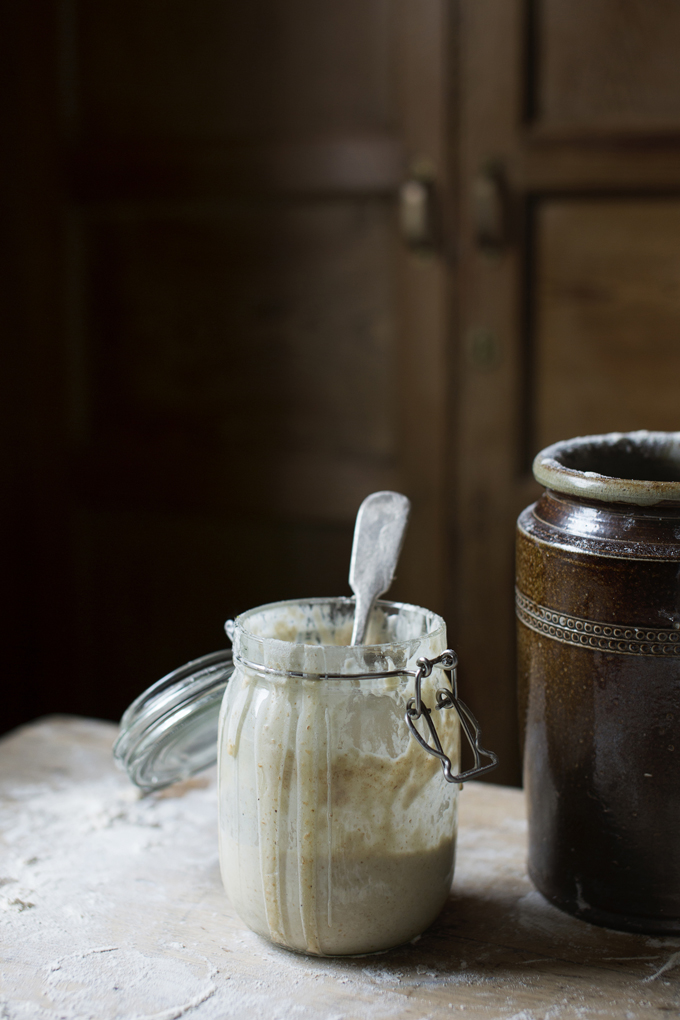
Step by Step Instructions to creating a sourdough starter
You will need 2 clean jam jars with loose-fitting lids
A wooden spoon ( A metal one is fine – just don’t leave it in the jar or the acid will start to dissolve the metal.)
A measuring jug
A Digital Thermometer – so you can control the water temperature
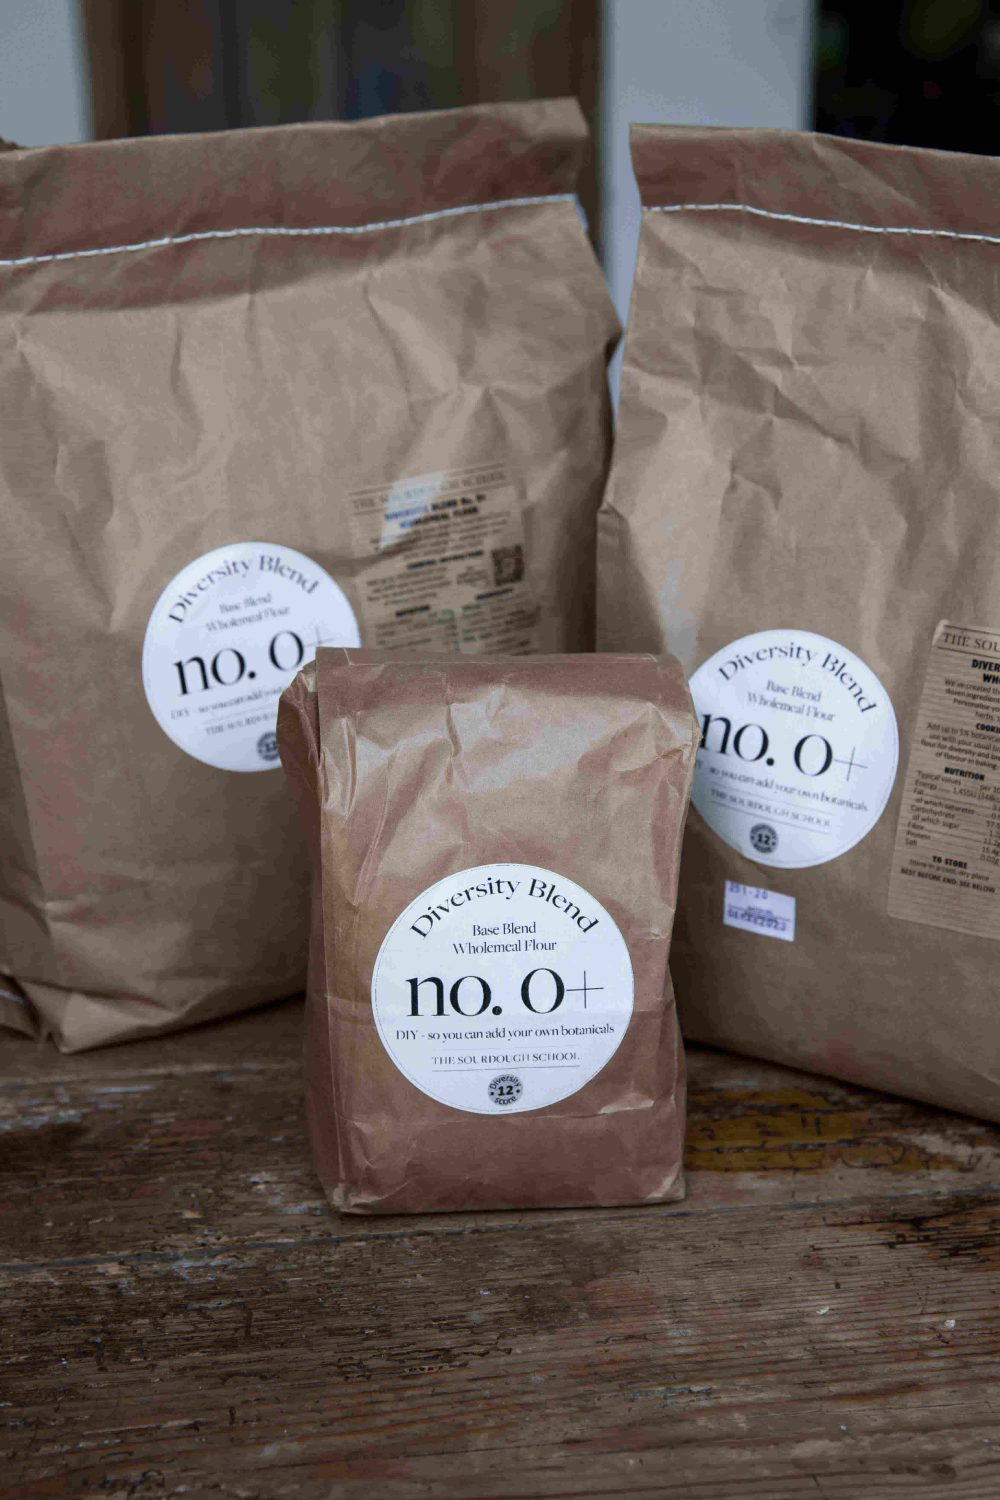
Combine 100g organic, stoneground wholegrain flour with 120g or so warm water, in a large clean jar. remember you will need to sense the thickness and Vanessa explains how to do this in the video
Day 1
Whisk the mixture well; this adds oxygen, which yeast likes. Cover with a loose lid. . Allow this mixture to sit in a warm place for 12–24 hours. Between the 12- and 24-hour mark you may see some bubbles.
Day 2 8am
Discard 120g of the mixture and replace it with 60g stoneground wholegrain flour and 60g warm water at 28°C (82°F). Stir vigorously, cover, and wait another 12 to 24 hours.
Day 2 8pm repeat the above
Day 3 From now on you will need to repeat this twice a day.
Day 4 – 5
If you are somewhere warm and your flour is microbially active, you will see activity quickly, after about 3 – 4 days. When ready, the sourdough starter should be beautifully bubbly and have enough yeasts and bacteria to be active enough to bake with.
How to tell if your sourdough starter is ready
The starter is ready when it doubles in size about 5 hours after feeding. It is now time to stop the creation process and move on to maintaining your starter.
Remember that refreshing your starter is a different timing and procedure once your starter is ready to bake with!
See the video above for detailed step by step refreshment process and here is a recipe for a basic sourdough boule.
Use up the discard in pancakes or waffles.
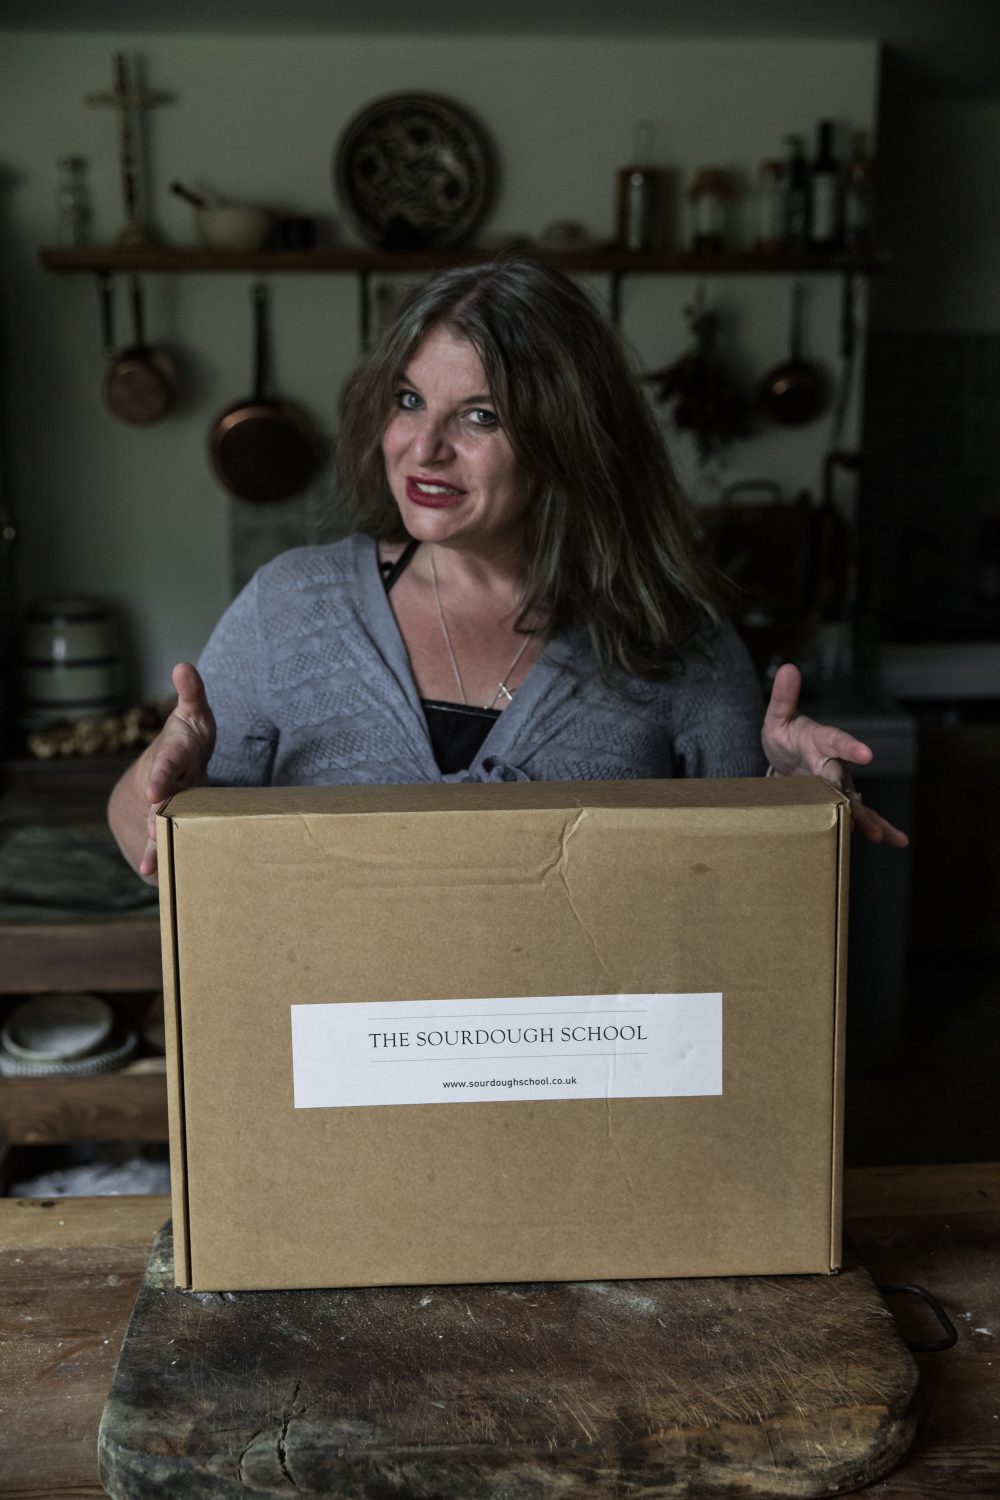
If you prefer you can buy white sourdough starter – this is made from Vanessa’s white starter that she uses at the School.
 A Basic Sourdough Pizza Recipe
Leave a Reply