Understanding Flour and Adjusting Hydration in Sourdough is key to success.
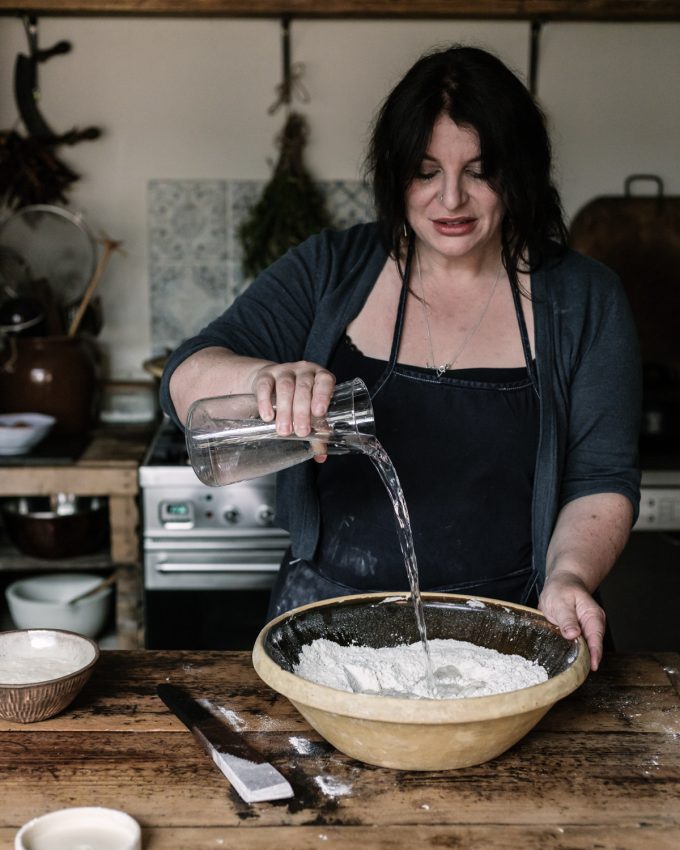
Whenever I have students here they all tell me that they just want to follow the recipe right? So I am going to share here what I tell them. If you are working with artisan flour and wild yeast then you need to understand this – you have to feel the dough and connect to the amount of water it needs. Treat the suggested amount of water as a guide not as an absolute.
One of the beautiful yet challenging aspects of baking sourdough is the variability of flour protein, fibre and age of the flour will impact the final result. No two flours are the same, and understanding how to work with different types is key to successful baking. This is why adjusting hydration—the amount of water you add to your dough—is so important. The right hydration level can make the difference between a light, airy loaf and a dense, heavy one.
When I’m teaching or baking myself, I always start by considering the type of flour I’m using. Different flours absorb water differently, depending on their protein content, how finely they are milled, and even the climate where the grain was grown. These factors all affect how much water the flour can handle and, consequently, how much you should add during mixing. The level of hydration can be worked out here on my sourdough hydration calculator.
Getting to Know Your Flour
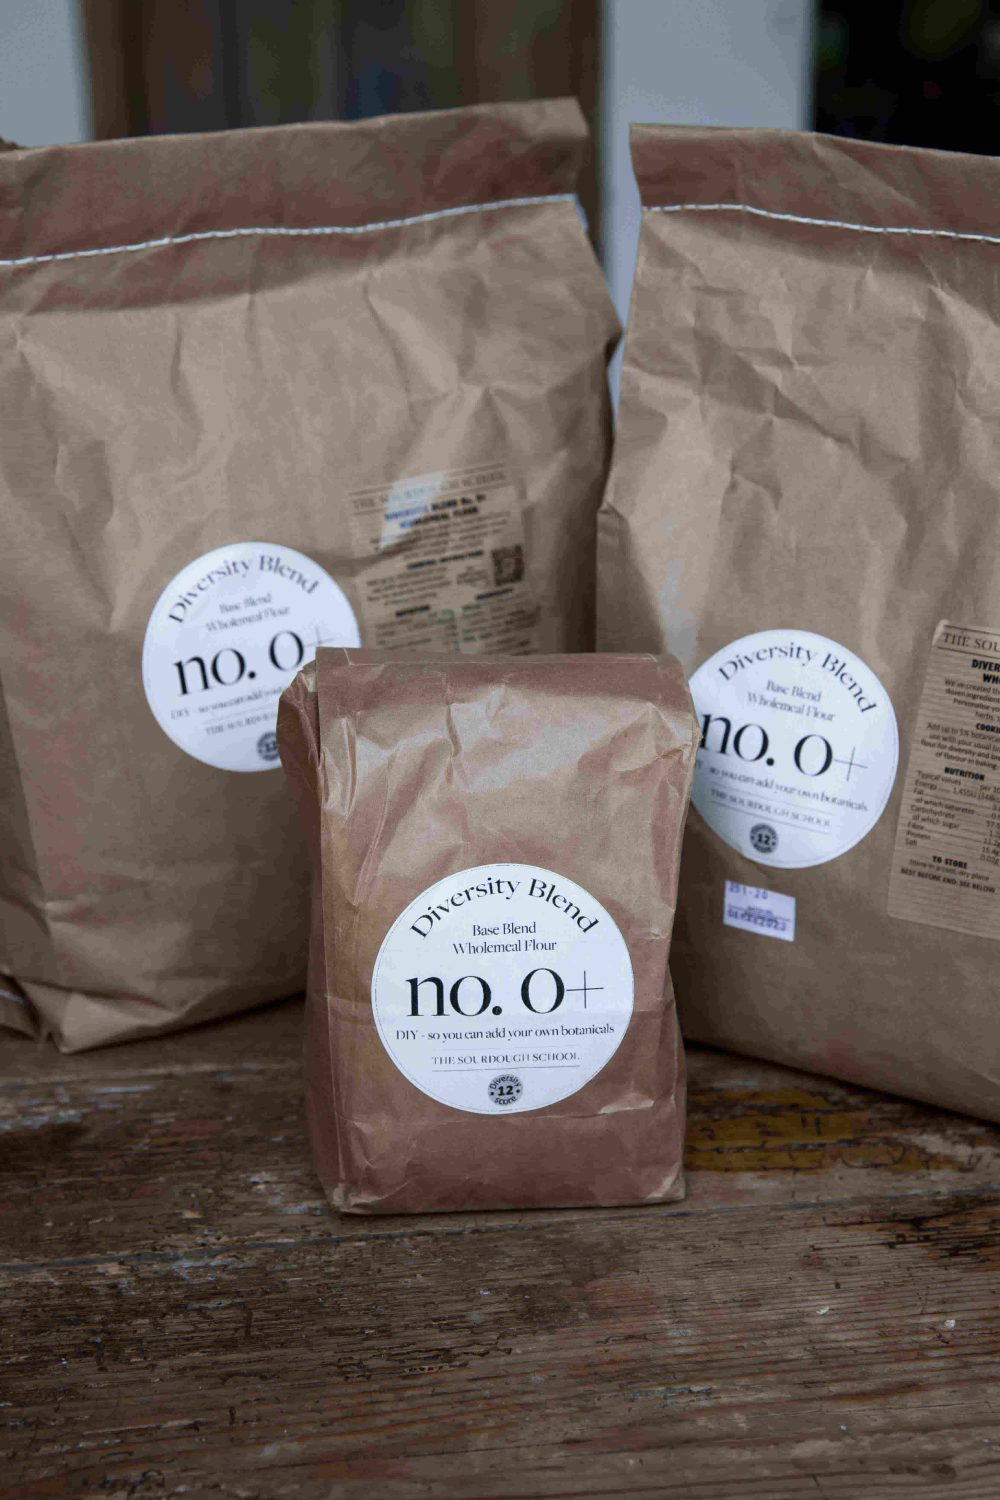
Start by getting to know your flour—each one has its own unique properties. Whole grain flours, for instance, absorb more water than white flours because they contain the bran and germ, which soak up more moisture. If you’re using whole wheat, rye, or spelt, you’ll likely need to increase the hydration level to get the right dough consistency. On the other hand, refined white flours, like all-purpose or bread flour, absorb less water and produce a softer, more elastic dough.
Another factor to consider is the age of your flour. Freshly milled flour behaves differently from flour that’s been sitting on the shelf for a while. Fresh flour might be more absorbent and require a bit more water, while older flour may not need as much.

Adjusting Hydration: Start Slow and Observe
When adjusting hydration, I always recommend starting with less water than you think you need. It’s easier to add water than to take it away. Begin by adding about 70-75% of the water you would typically use. Mix your dough, then let it rest for a few minutes. This rest period, known as autolyse, allows the flour to fully hydrate and gives you a better sense of how much more water might be needed.
During this resting time, you can observe the dough’s texture and feel. Is it stiff and difficult to work with? It may need more water. Is it too sticky and hard to manage? You might have added too much. A well-hydrated dough should feel soft, slightly sticky to the touch, but still manageable. It should be able to stretch easily without tearing, indicating good gluten development.
Adjusting Hydration: Tips for Success
- Start with Less Water: Begin with 70-75% hydration and gradually add more as needed. This allows you to gauge the dough’s absorption capacity without overshooting.
- Consider Flour Type: Whole grain flours generally need more water than white flours. If you’re using a mix, adjust accordingly. You might need to experiment a little to find the right balance.
- Watch the Dough: During the autolyse phase, let the dough rest and absorb the water. Then, check its texture. If it feels too dry, slowly add more water. If it’s too wet, you can incorporate a bit more flour, but be cautious not to overdo it.
- Climate Matters: Flour behaves differently depending on the humidity and temperature. On a humid day, you might need less water, while in a dry environment, more water might be necessary. Be flexible and adjust based on the day’s conditions.
- Feel the Dough: Get your hands in there! Feeling the dough gives you valuable information about its hydration. A properly hydrated dough should feel smooth and supple, with a slight tackiness that indicates good moisture content.
- Take Notes: Every time you bake, take notes on the flour you used, the amount of water added, and how the dough felt. Over time, you’ll build a personal guide to how different flours and hydration levels work best for you.
Embrace the Variability
One of the joys of baking sourdough is embracing the variability of natural ingredients. Flour is a living product, full of nuances and surprises. By learning to adjust hydration and listening to what the dough needs, you develop a deeper understanding of the baking process and become a more intuitive baker.
Remember, there’s no one-size-fits-all when it comes to sourdough. Every flour is different, and every loaf is a new opportunity to learn and grow. Enjoy the journey, and happy baking!


