One of the healthiest everyday breads you can bake.
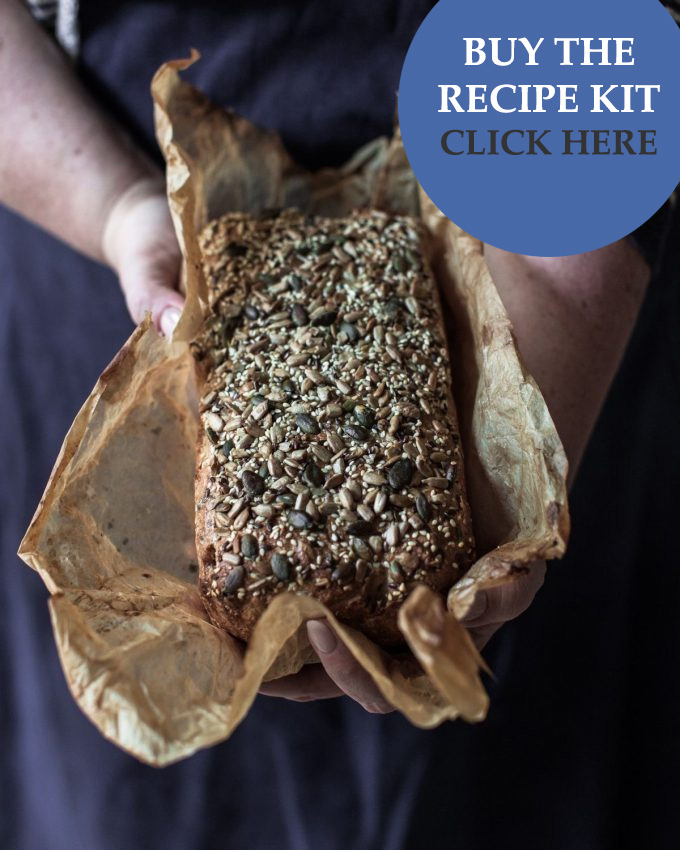
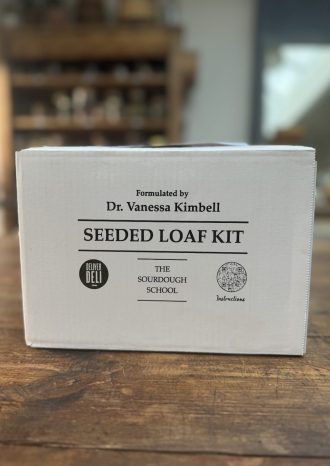
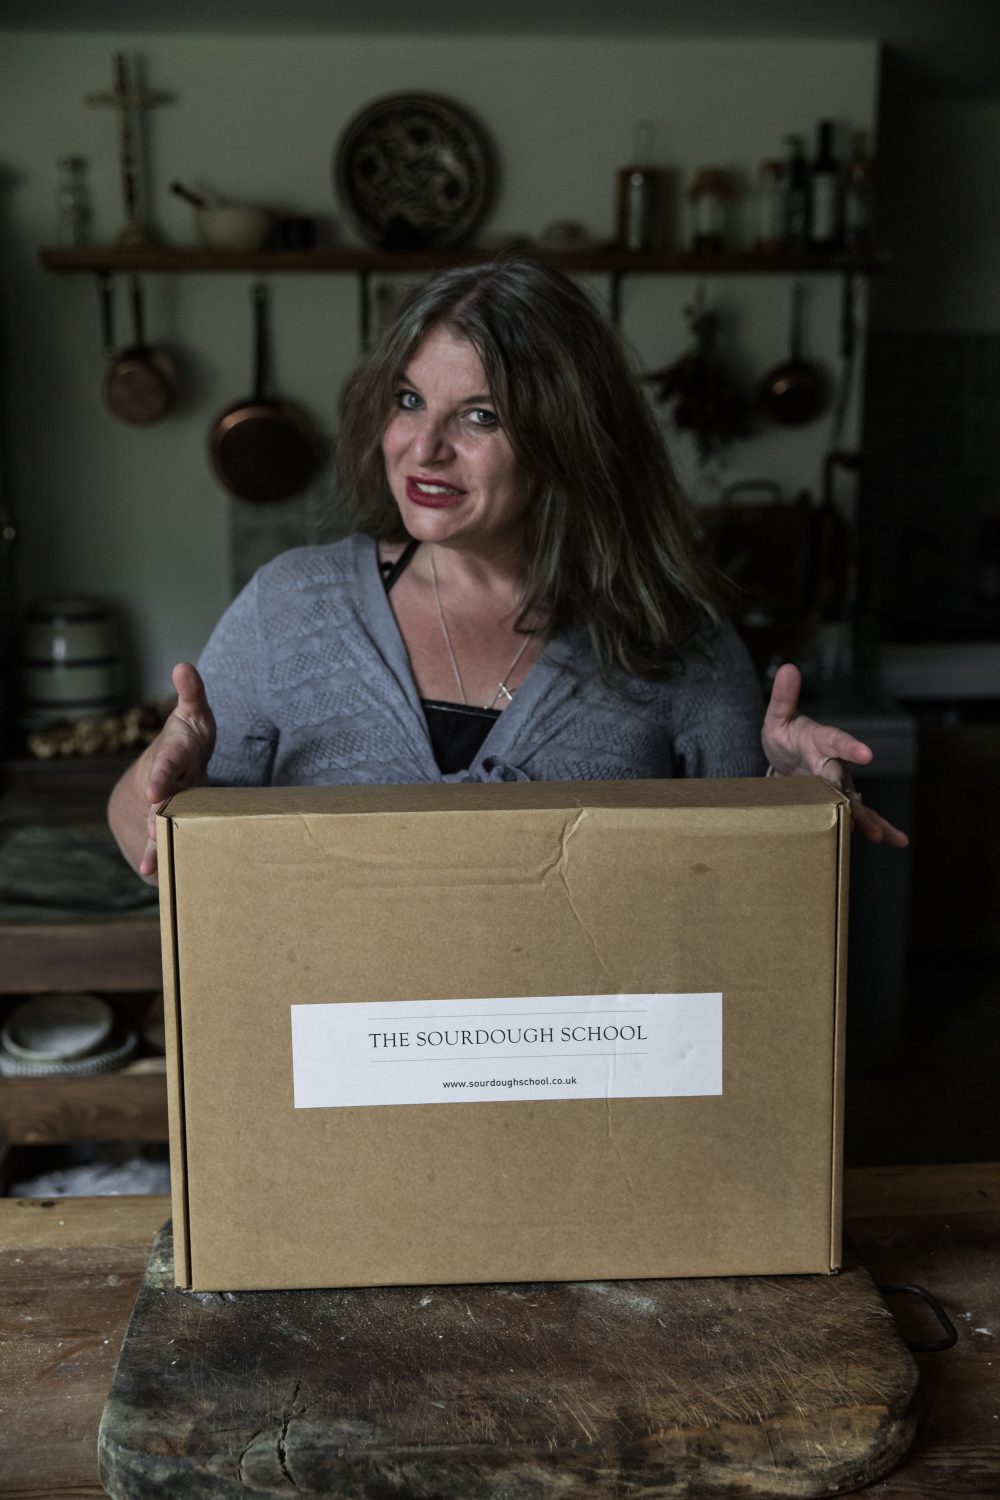
This recipe is what I call big poops bread. Gut health is about regular fibre, and when you ferment your bread it predigests it. It is also about keeping it regular ( pun intended) So I have created a recipe box with exactly the amounts you need to make this recipe, already weighed out, to make either 2 or 4 of these breads with the option to bake this amazing bread with a whopping 31 diverse ingredients!
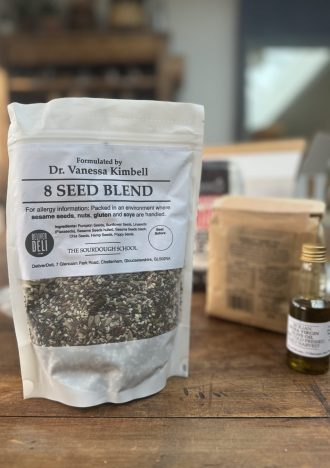
It's quick to make because it follows the Basic 10-Minute Sourdough Tinned Loaf schedule, but this version includes our 8 seed blend. It delivers a phenomenal amount of fibre and flavour and it is satiating, making it a great loaf for anyone who wants to control blood sugar levels. The bread seeds also bring a high level of nutritional value to this bread.
Our Big Poops Bread has a Diversity score of 31
(if you use the recommended flour, seeds and spices)
It packs a whopping 15.7g of fibre for 200g - which is over half the daily recommended amount of fibre in your bread alone.
Fibre levels
- Fibre per 100 g of Bread: 7.7 g
- Fibre per 80 g Slice: 6.16 g
- Fibre per 200 g of Bread (Recommended Daily Intake): 15.4 g
Healthy Seeds
Seeds have numerous benefits for human health. For a start, they are prebiotic and good for the gut microbiota because of their high levels of dietary fibre and polyphenols. Studies have shown that they can have a positive effect on the prevention and management of obesity, which seems to be associated with these prebiotic properties. However, I recommend exercising caution with seeds if you have IBS. This can vary from person to person, but sometimes they are not well tolerated. Soaking the seeds and draining them will help. However, if you are not used to seeds, I suggest that you start by adding just 50 grams to the recipe and work your way up with another 50 grams over 5 weeks or so to retrain your microbes. Be gentle with yourself; if you are just getting into a healthy way to bake, it can take time to retrain your gut.
Gut Health
Fibre benefits your digestive system and reduces your risk of developing chronic disease. Fibre also leaves your stomach without being digested, moving into your colon, where it feeds friendly gut bacteria. Considering this loaf takes only 10 minutes of hands-on effort to prepare, you can gain many benefits from an achievable everyday endeavour.
A practical everyday loaf
The recipe makes two loaves. I slice it thin for sandwiches and thicker for toast. If two loaves is too much bread for you, simply halve the recipe. If you do this you must be careful to maintain your DDT when mixing as a smaller amount of dough will lose heat more quickly. Better still, make two loaves and give one away. Or, if you prefer, you can bake two, enjoy one fresh, and slice and freeze the other.
Intentions
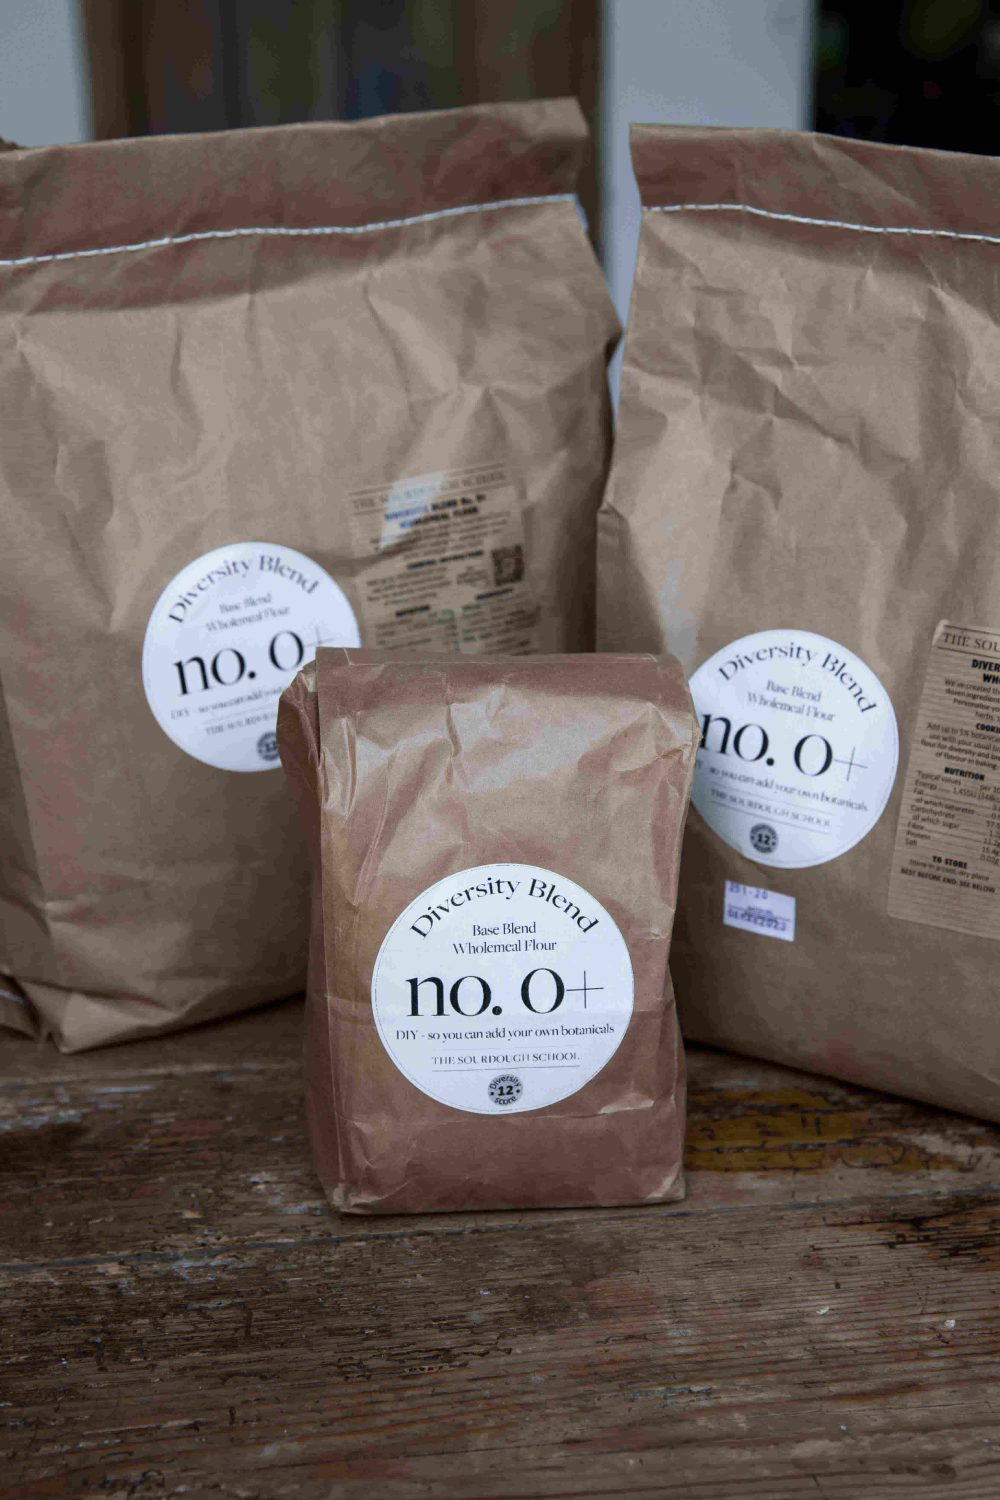
One of the biggest problems people tell me they have when making this loaf part of their everyday baking and eating is that they are so busy they forget to order the flour to bake with. I am therefore delighted to be able to offer a monthly subscription to the ingredients for this loaf. It makes 4 loaves, enough for one a week.
What I love most, aside from the taste and the satiety of this bread, is that when you use the Meadow Blend flour, the seeds and the spice blend together, this loaf can deliver a diversity score of 31: at least 30 is recommended for optimal gut health.
Seeds: Coriander, Caraway, Fennel, Anise and Nigella Seeds
Happy baking
Dr Vanessa Kimbell
x
Starter: Any starter as long as it is bubbly and alive - I used my white starter for the recipe.
Makes 2 x 1kg > Hydration 95%
DDT: 27C
Flours
For The Leaven
For The Dough
- 950g water at 27°C (82°F) (200g of this will be used to soak the seeds) + 50g optional extra water
- 250g of my 8 seed mix
- 1 large tablespoon of 5 my spice blend (optional)
- 500g stoneground white bread flour (included in our kit)
- 500g stoneground wholegrain bread flour - I recommend Botanical Blend No 2
- 20g fine sea salt
- a large knob of room temperature butter, or coconut oil for greasing
- A tablespoon of honey as an optimal extra to finish
Bake Time
50 - 60 minutes - pay attention to your oven - everyone oven is different and you need to get to know your oven. Check it is cooked by inserting a skewer - if it is done then it will come out clean.
Equipment
- 1 small mixing bowl
- 1 large mixing bowl
- Whisk
- Spatula
- 2 x 1kg (2lb) loaf tins
- Olive oil spray
- Oven gloves
- A jug of tepid water in which to dip your hands when handling the dough
Tutorials
My Top Tips for Success
Proofing tips
If your kitchen is cold, find somewhere slightly warmer to do your proofing. Yeast likes an ambient temperature of 20c or above. If you yourself are cold then so will the yeasts be. You can buy a proofing box to make this task easier, but the heat from the oven light should provide enough extra heat to keep your bread a little but warmer overnight – just don’t let anyone accidentally turn the oven on while it’s in there!
Baking Tips
Your dough will be proved the following morning, and your loaf should be at least 50 per cent bigger. Preheat your oven to 220°C/gas mark 7 for 30 minutes, and place a shallow baking tray in the bottom of the oven.
As you place the bread in the oven, reduce the temperature to 180°C/gas mark 4 (this will stop your crusts from burning) and carefully throw a little water or some ice cubes into the hot tray at the bottom. Close the door quickly to trap the steam this creates. Bake for 50-60 minutes. Everyone’s oven is slightly different, so check your loaf towards the end of the baking time: it should have a golden brown crust.
Remove the loaf from the oven and leave to rest in the tin for about 5 minutes, then turn your bread out of the tin and place on a wire rack. Here at The School, I recommend you return the unmoulded loaf to the cooling oven and leave there on the wire rack to let the last heat drive off any remaining moisture in the bread. This way I get an epic crust and an amazing golden finish.
Your starter is now really active and should be ready to put in the fridge until you next want to prepare it for baking.
Storage tips
Once cool, store your loaf wrapped in a clean, dry tea towel. With a wholegrain loaf I recommend giving it a few hours to settle. I appreciate that warm bread is irresistible, but a bit of patience will pay off. I suggest, as always, that you bake two and slice one as it cools and pop one in the freeze. If freezing, please do remember to wrap the bread well to stop freezer burn.
Best enjoyed within 2-3 days.
 What is Sourdough?